Easy DIY Jewelry with Swarovski® Raindrop Pendants
Swarovski® has introduced a simply stunning crystal collection called Innovations Spring/Summer 2017, inspired by the balance of nature. Along with Céline Cousteau’s inspiration crystal designs from the depths of the ocean, Swarovski included the popular Raindrop Pendants. We have three easy jewelry pieces to accentuate the beautiful shape of these raindrop pendants.
Drops of Midnight Earrings
We took TierraCast® 2-Hole Hammertone Disk and attached 33mm jet raindrop pendants and sterling silver ear wires with jump rings.
Drops of Midnight Earrings:
(2) TC01406 – 25mm Antique Pewter 2 Hole Hammertone Disk
Frame some of the raindrop earrings in a teardrop frame from TierraCast®. Hook sterling silver ear wires and attach a 17.5mm Swarovski® raindrop pendant with 5mm jump rings for an easy pair of earrings.
Making this chain tassel necklace is super easy. We cut chains at 10”, 3”, 2.5”, 2” 1.5” and 1” (times 2). Attach a small jump ring to the raindrop pendant. On a large jump ring (roughly 10mm), open and insert 10” chain, 1” chain, 1.5” chain, 2” chain, 2.5” chain, 3” chain, small jump ring with raindrop pendant, 3” chain, 2.5” chain, 2” chain, 1.5” chain, 1” chain, 10” chain. Close jump ring. Attached a lobster clasp to one of the 10” chain end and attach a small jump ring to the other 10” chain. Voilà and your necklace is complete!
Chain Tassel Raindrop Necklace:
(1) SW01399 – 23mm Crystal Silver Raindrop Pendant
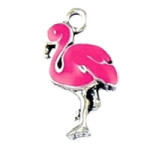
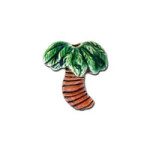
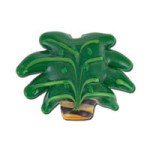
Are you ready to head bang to the beat of “Boys of Summer,” while cruising along the beach? We have three bracelets that feature trending flamingo and palm tree motifs. Easy to make and slip on, you can make these simple stretch or leather bracelets while catching rays on the beach.
Beach Party Stretch Bracelet
Designed by So Vang
Wear your oversized floppy hat, romper, flip flops and this cool bracelet to your next beach party! You can whip up this bracelet and still have time to figure out if you want to change your outfit again.
What you will need for this bracelet is the following:
Step 3 – Cut with your memory wire cutters 1/2″ away from the last palm tree.
Step 4 – Round the wire end to make a simple loop.
Blushing Flamingo Leather Bracelet
Designed by Tory Vezina
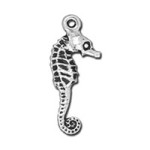
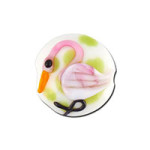
Can you imagine yourself wearing this bracelet, while humming and sipping on a fruity drink? We love the handmade flamingo glass bead surrounded with hues of pink.
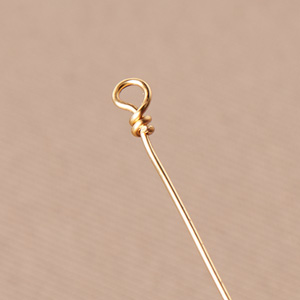
Step One: Cut 22-gauge wire and make a wire wrapped loop. Make sure to make a loop small enough so seed beads can not pass through.
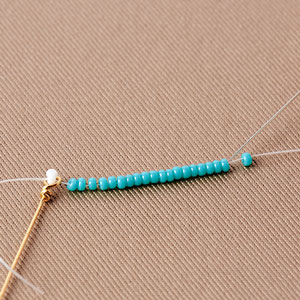
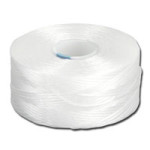
Step Two: Knot a bead to the end of the thread. Feed the thread through wire loop.
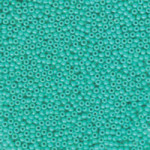
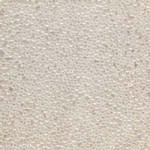
Step Three: String on your preferred amount of seed beads. (Here we are using size 11 Miyuki seed beads.)
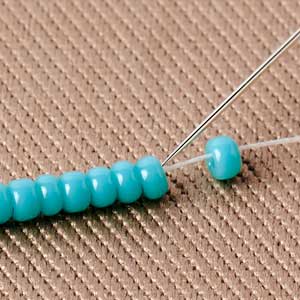
Step Four: Skip the last bead and thread the needle back though the beads.
Step Five: Thread through the wire loop.
Step Six: String on beads and thread back through the beads while skipping the last bead. Then go back through the wire loop.
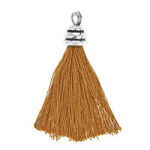
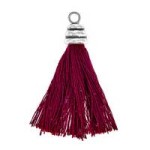
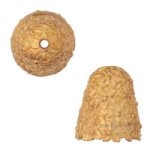
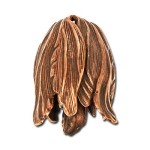
Step Seven: Repeat until you’ve reached a desired thickness. This thickness is according to how full you want your tassel to look within the bead cap or end that is being used. Tie off the ends and cut excess. You can add fast-drying glue to secure the knots.
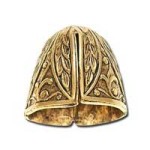
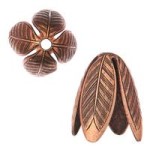
Step Eight: Add your bead cap or bead end and make a wire wrapped loop. You’ve completed your beaded tassel.
Guinevere Beaded Tassel Lariat Necklace
Designed by Tory Vezina
If Queen Guinevere wore a tassel necklace, this would be the necklace. With pearl seed beads and spiral rope chain, this necklace is perfect for common folk to feel like a queen!
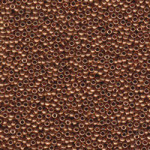
The tassel was made with size 11 pearl seed beads and gold end caps. Make two beaded tassels. Cut some rope chain at 3-4 feet and attach each end with a brass jump ring and beaded tassel. Wear this lariat necklace loose while wrapped around once or twice. Or tie a knot 2-4 inches away from your beaded tassel.
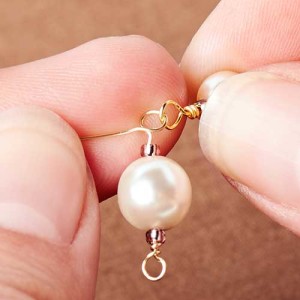
A simple embellishment you can add to your head pins and wire, is making a wire wrap loop. A wrapped loop adds a decorative and elegant look to your jewelry piece. Here, we’ll explain how to make a wrapped loop, how to connect two wrapped loops together and show you previous projects using wrapped loops.
While we covered the basic of a simple loop in a previous blog post, you can take that knowledge of simple loops and amp it up a notch with wire-wrapped loops. Like, our previous advice; practice, practice, practice.
First, let’s talk about wire gauge. While we recommend your head pins, eyepins or wire to be a 21 – 24 gauge, you can surely use other thickness. Do keep in mind that when wire wrapping a thick gauge, like 20 or lower; it will be more difficult to create a tighter coil. While a thinner gauge above 26 will be more delicate. But when it comes down to beading and jewelry, it’s personal preference.
Wire Wrap Loop Tutorial
Tools you will need:
Round Nose Pliers
Flat Nose Pliers
Serrated Pliers
Side Cutter
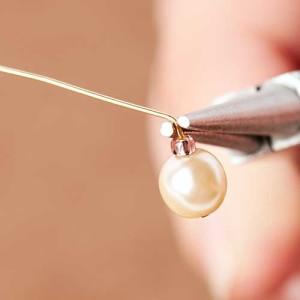
Step One: Add bead(s) to head pin or eyepin. Grasp the tip of the round nose pliers on the wire close to the top bead.
Step Two. Bend wire to a 45-degree angle over the pliers’ round nose with fingers.
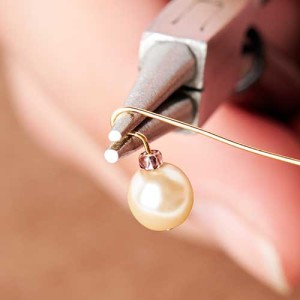
Step Three: Slide the round nose pliers in 1/4” and grasp the bent 45-degree angle tail. Bring wire over the pliers’ round nose to make a backwards question mark. Note: You can slide the pliers in more for a larger loop.
Step Four: Switch the pliers’ nose so that the bottom nose is in the loop that’s been made. Wrap the wire end under the round nose and over the bead(s). The wire should cross over the bent 45-degree angle section leaving a gap below the loop.
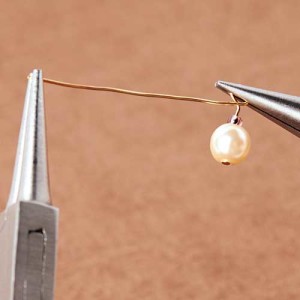
Step Five: Clamp the loop with a flat nose plier and grasp the wire tail with the tip of the round nose pliers.
Step Six: In a clockwise rotation, coil the wire with your round nose pliers around the gap and down. You should get 2-3 coils.
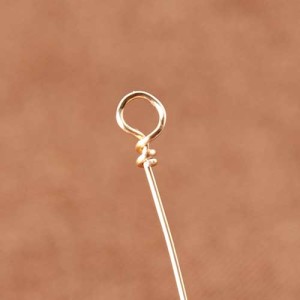
Step Seven: Clip the excess wire with a side cutter. Use a serrated or flat nose pliers to catch the end of the wire tail and tuck it under the coils.
Step Eight: Straighten loop as needed. You are done!
Linking Wire Wrapped Loops
Unlike simple loops, with wire wrap loops you are unable to open the loops up and link them. You will need to add the two parts in the middle of the wrapping process, while using Artistic Wire to make a double wrapped, loop links.
Step One: Make a wrapped loop on 22 Gauge Artistic Wire.
Step Two: Make a 45-degree bent angle and full loop. After the full loop, link finished wire wrapped piece into loop.
Step Three: Finish the rest of the wire wrapping process and you should have a wire-wrap linked piece.
There are many variations of how to form a wrapped loop. Many jewelry-makers create coils while holding the wire end with their fingers. Or others wire wrap an irregular coil. Whichever the look you are achieving, one way to make a wrapped loop.
Sample Jewelry with Wire-Wrapped Loops
Here, we will explore inspirational jewelry from past trends and blog postings that have used wrapped loops.
We linked up wire-wrapped loops to make this waterfall-inspired pearl necklace.
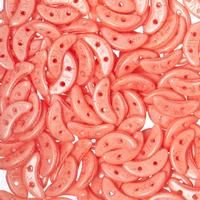
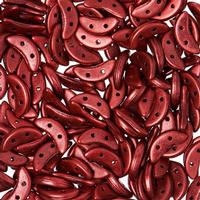
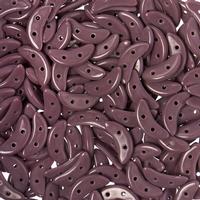
Czech Crescent Bracelet and Earrings with FREE Illustrated Tutorial
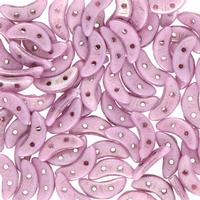
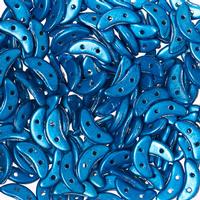
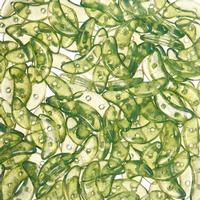
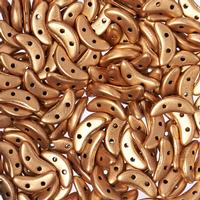
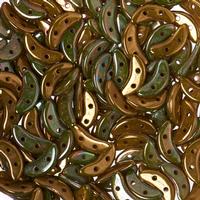
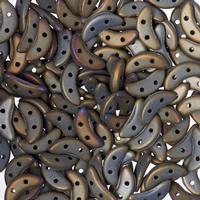
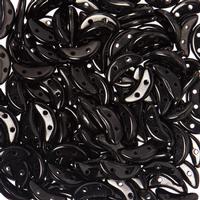
Czech Crescent beads are NEW at GoodyBeads. The Czech crescent beads are wedge-shaped beads with two holes. We have two easy and free tutorials using these Czech crescent beads.
Midnight Gold Czech Crescent Bracelet
Design by So Vang
For this bracelet, we used a combination of black and gold crescent beads with Swarovski® crystals in Graphite AB2X. The midnight glow of the AB2X is hauntingly beautiful in this piece.
We love this bracelet because it is simple to make. First, start by threading on 4 seed beads. Keep the ends of your thread untied. Then, you will thread on a top layer with a sequence of 3 Czech crescent, a seed bead and a 4mm bicone crystal. Repeat this sequence until you’ve reached your preferred bracelet length. End this top layer with 3 crescent beads and 4 seed beads. Now, bring the thread down to the bottom 3 crescent beads you’ve ended with. You will now be threading the bottom layer by adding a seed bead and bicone crystal in between each crescent bead grouping until you’ve reached the end. Tie both of your thread ends together. Feed your threads back through a few beads before you cut off excess thread. Add your clasp and chain link to the seed bead loop ends you’ve made with jump rings.
First thread on your top layer with, crescent bead, seed bead, bicone crystal (4 times). Tie both thread ends together to create a cylinder shape. Feed your thread through one crescent bead and loop down through the second hole of the crescent bead. Thread in reverse of your cylinder shape with adding a seed bead and bicone crystal inbetween the crescent bead. Once you’ve reached the end. Tie off thread ends and thread through a few beads before cutting off excess and you’ve completed your crescent bead design.
Slide these beads onto the headpin and make a simple loop:
Seed bead, bicone crystal, 8mm round crystal, 6mm round crystal, crescent bead design, bicone crystal and seed bead.
Open your Ear-wire loop and slide on your crescent bead design headpin loop. Repeat for other earring.