Czech Honeycomb beads are popular! We have two easy and free tutorials on how to use these popular honeycomb beads to make a bangle and cuff bracelet.
Honeycomb Bangle by Apollinariya Koprivnik
We followed BeadSmith’s Inspiration Squad Member, Apollinariya Koprivnik’s tutorial to make this stunning honeycomb bangle. We love its mesmerizing, 3D design. We dressed the bangle with the matte jet honeycomb and accented it with gold and silver seed beads and SuperDuos.
To create this wire-wrap cuff, we drew inspiration from Julie Romero’s honeycomb bangle bracelet. Follow our directions below to create this easy wire wrapped honeycomb cuff.
* Note: It is easier and quicker to work with shorter pieces of 26-gauge wire.
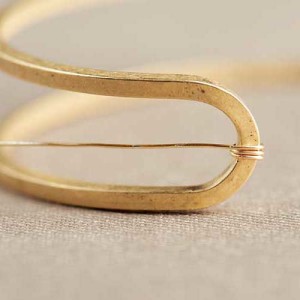
Step One: Start with 2 feet of 26-gauge wire. Wrap the end of the wire three times in the middle section of the cuff shown above.
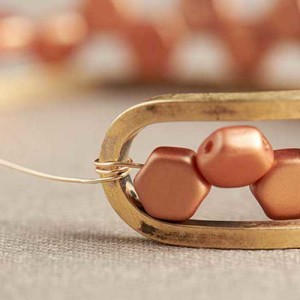
Step Two: String on 26 honeycomb beads and secure it around to the other end of the cuff by making a few wraps.
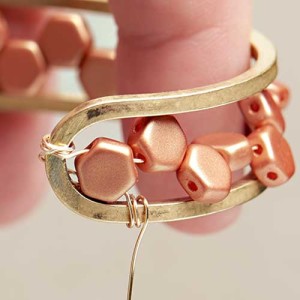
Step Three: Bring the wire back behind the cuff and thread it through the first honeycomb hole. Bring wire over the bottom cuff frame and make three coiled wraps.
Step Four: Repeat step 3 for every other honeycomb bead on the bottom row.
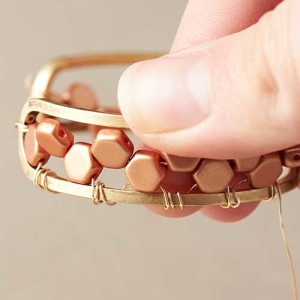
Step Five: When you have finished the bottom row, coil wraps around the frame to wire wrap the top row of the cuff. See finished cuff above.
We talked about looping and cutter tools in our Beading Essential: Tool Edition Part 1 blog post. In this second part of our Beading Essential: Tool Edition, we’ve selected a few metal working and hammer tools as well as other tools to make your jewelry making easier.
Hammers
These are not your average hammers you have lying around your house to hammer nails. These special hammers are extra sturdy, like steel hammers, and have versatile uses for jewelry making.
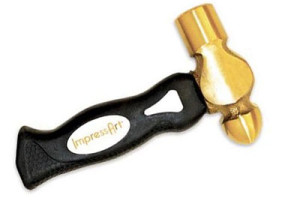
A010617 – Metal Stamping Hammer
TL00235 – Metal Stamping Hammer By ImpressArt
These two are metal stamping hammers that have sturdy brass heads ideal for striking metal stamps. Their short handles have comfortable grips to give the user a precise strike.
A012927 – Chasing Hammer
The Chasing Hammer is a great tool to use for metal working. The two-part hammer has a round side that is great for adding textures such as a hammered look (small dents) to metal. While the other side is flat and good for flattening wire and hammering rivets.
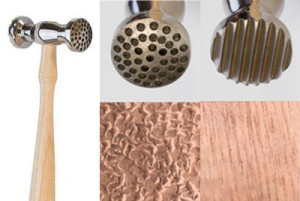
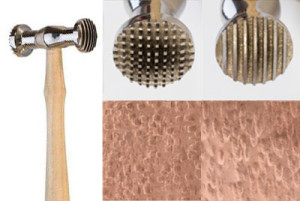
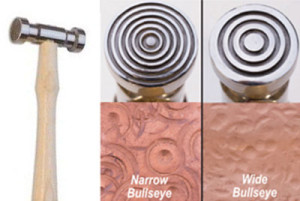
Texture hammers provide patterned texture on metal. Each hammer has a double head that has two different texture heads to create a different impression in your metal. Try turning your hammer when you strike, for a variation in your impression. Create unique impressions by changing up the angle and power of your strikes.
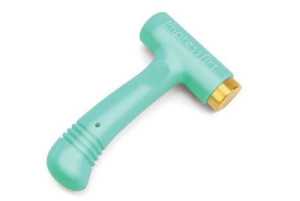
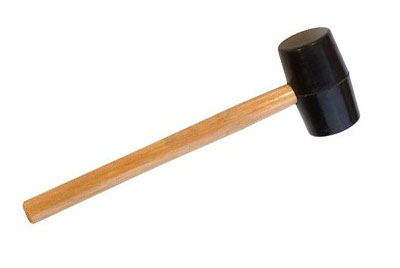
A011606 – Rubber Mallet
A rubber mallet will allow you to change a half-hard or dead-soft jewelry wire into hard wire. After you’ve shaped your own wire pendants, ear wires or clasps, for instance, you’ll want to use a rubber mallet to make them stronger, harder and to help them maintain their shape. Because of its soft head, it is also best to use a rubber mallet on color coated wire as each strike does not disturb the colored surface.
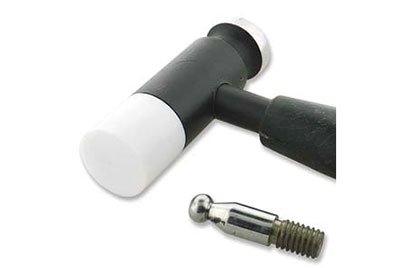
TL00146 – Whammer Wire Jewelry Hammer
With this tool, you get three tools in one. There is a convex steel head for flattening wire, an interchangeable nylon flat head for hardening wire or straightening colored wire, and a steel dapping head for creating dents or texture on metal.
First, stamp your designs onto the stamping blank and sand the edges of your blank to smooth out the edges with Sanding Sponge Grit. Then, take one end of the blank and insert into the loop of the bar. Bend the blank around the curve of the bending bar. Repeat to the other side of the blank. Use Nylon Jaw Bending Pliers if you need to create a more curved look.
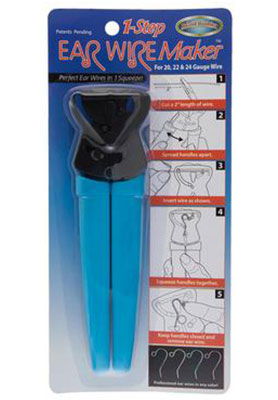
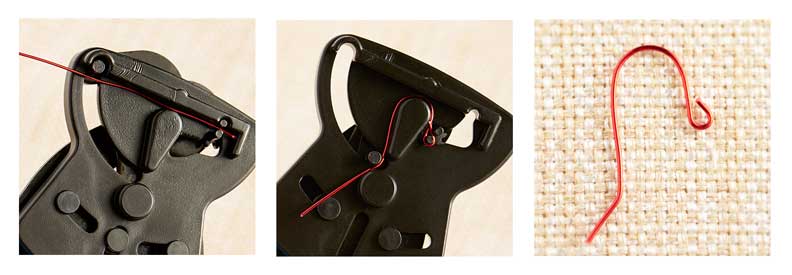
TL00199 – 1 Step Earwire Maker
Use the Earwire Maker to make ear wires with 20-, 22-, or 24-Gauge wire in one step. Also use the Bur Tool to smooth rough and sharp ends of the ear wire and/or harden the ear wire by hammering it with a rubber mallet or nylon whammer tool.
Note, after you have squeezed the pliers to make the ear wire, do not release the pliers. Remove ear wire while you have the pliers squeezed. Cut excess wire if you need to shorten the length of the end.
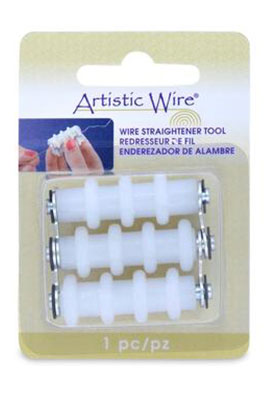
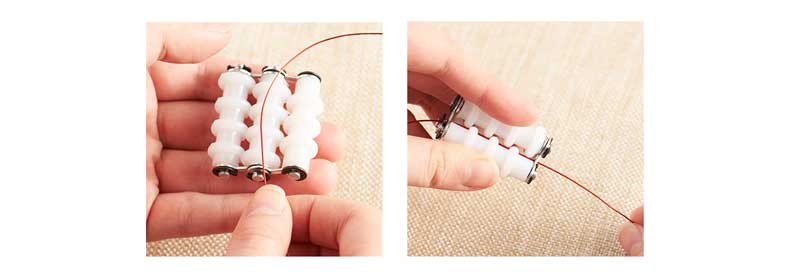
TL00208 – Straightener Tool
Wire is easier to use when it is flat. This wire straightener from Artistic Wire can help with straightening your curved, kinked, or bent wires.
Put your piece of wire in the middle of the three bars. Clasp the bars enclosing the wire on the inside. Pull your wire out and you should have a straighter wire. You may need to run the wire through a few times for more prominent kinks.
Beading Essentials: Tool Edition (Part 1 of 2)
When it comes to tools, everyone has their favorite set of pliers, cutters or hammers. But there are newer types of tools that can even help your jewelry-making be more consistent and efficient. In this Beading Essentials: Tool Edition, we hand-picked a few tools that can help you with your next beading project. Who knows, you might even find a new tool to add to your collection.
For this segment, we will discuss different types of looping tools and cutters to assist you in your jewelry making.
Looping Tools
In our previous blog, Jewelry Beading Essentials, we pointed out simple pliers that all jewelry makers should have on hand, like your round nose and cutters for making simple loops. Did you know there are looping tools that can help with the consistency of your loops? Or making wire loops in a shorter amount of time.
Wubbers® has looping pliers in various sizes that helps make simple loops easier.
A012264 – Bail Making Wubbers
This Bail Making Wubbersis great for making small 2-2.5mm loops or coils. Using this tool instead of your round nose pliers will give you a more consistent loop every time.
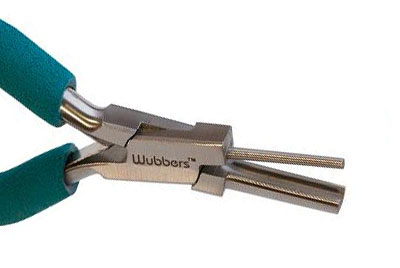
A012263 – Wubbers Wire Looping Pliers
This Wire Looping Wubbers comes with instructions on how to use this plier to make eyepins and wrapped loops. One side is concave so that it holds your loop in place while you make a loop on the other side of the plier. This tool is also perfect for beginning jewelry makers that are learning about making wire loops because the tool guides the user to make a round loop.
Tip: When you have finished your loop, bend the wire back slightly so that it centers the loop with the wire.
TL00155 – Large Wire Looping Pliers
Large Wire Looping Pliers makes larger loops. This loop is great for making larger loops to attach to thicker chain pieces or making larger eyepin loops. One of our favorite ways to use this tool is making jump rings, especially for chainmail.
Make coils with your looping pliers. Cut off excess wire. Then cut in a straight line across the coils to make 7mm jump rings.
TLZ0207 – Memory Wire Finishing Pliers
These Memory Wire Finishing Pliers are best used to make loops on your round or flat memory wire. Because memory wire has a stronger gauge, these pliers will help make a simple loop end easy. Clamp the pliers at the tip of the wire and roll towards you until you’ve made a full loop.
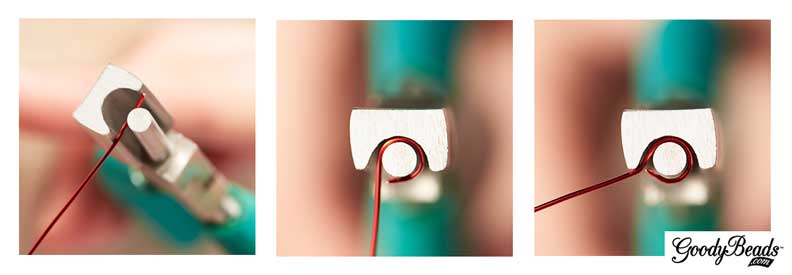
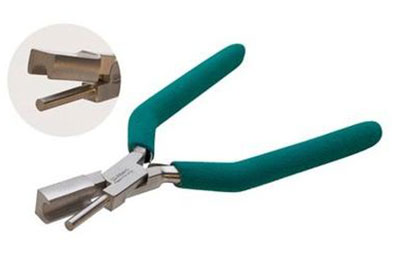
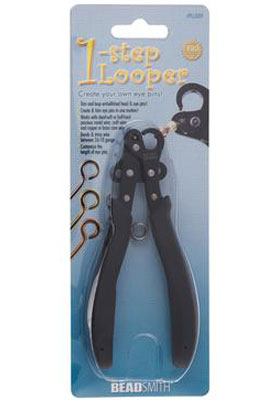
TL00019 – 1 Step Looper
An innovative tool we have is the 1 Step Looper. Designed to make loops in literally 1 STEP! It loops your wire and cuts it all, in one step.
This tool is perfect if you need to make a lot of eyepins. Feed your wire until it passes the middle lever. Squeeze your pliers and it will make a loop while cutting the excess wire end.
Tip: When you have finished your loop, bend the wire back slightly so that it centers the loop with the wire.
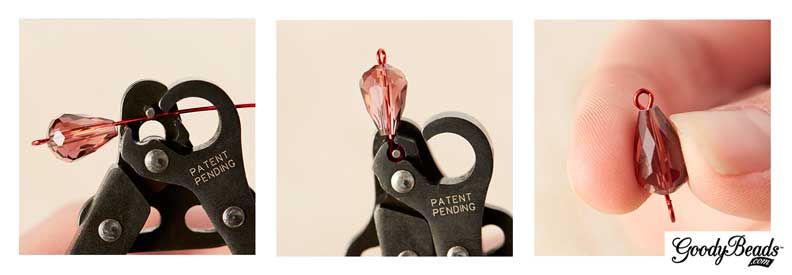
You can use this tool when you are making a lot of dangles. Feed your wire until the top of the beads are close to the pliers. There will be a hole at the other end if your wire is long. Squeeze your pliers to make a loop. Bend your dangle back slightly to center your loop.
Cutter Tools
Side cutters are one of the essential tools you will need for jewelry making. Whether you are cutting excess wire off of a headpin or cutting thin chain links, cutter tools are versatile. But not all cutters are the same. Certain cutters are used for certain projects.
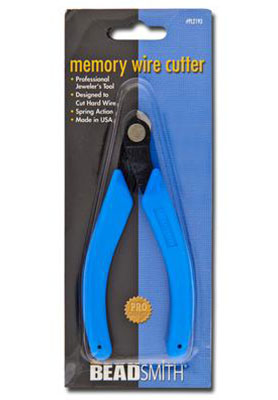
FTTL0005 – Memory Wire Cutter
Memory Wire cutters are used for the heavy duty cutting. Best to use on memory wire or larger gauge wire, but you can use them for cutting thick chain links without damaging your regular cutters.
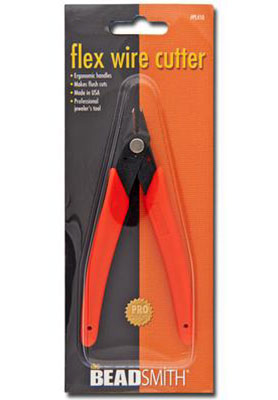
FTTL0001 – Flex Wire Cutter
Flex Wire Cutter is designed to cut flex wire. With this precision cutter, you don’t have to worry about your flex wire having frayed ends. We also use these for our Beading Wire or Elastic Cordfor a closer cut on a finished project, when scissors cannot.
TL00017 – Xuron® Shear – Non-Serrated
Xuron® Shears are manufactured for cutting high strength fibers, wire, metal sheets, leather cords, and even Beading Wire. They are perfect to cut wire coils to make jump rings because they create a clean, flat cut.
We recommend this tool if you are wanting a flat cut to your jump rings. Because when cutting the coils with your side cutters, you will find that your jump rings will have a sharp, pointed end. This is because side cutters are best for flushing the flat side of your side cutters for a close cut. While Xuron Shears cut clean and flat especially for making jump rings.
As you can see here, the left jump ring was cut with a side cutter, while the right jump ring was cut with the Xuron Shears.
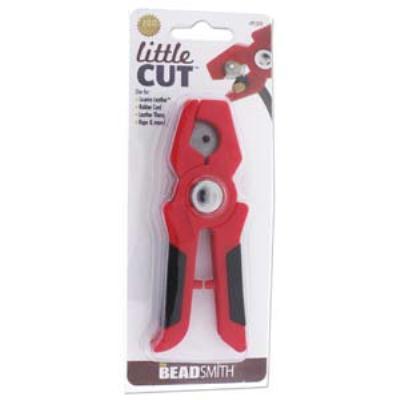
TL00053 – Licorice Leather Cutter
With a comfortable grip, this Licorice Leather Cutter is perfect for cutting your licorice leather or all of your leather or rubber cords with a clean and accurate cut.
Feature: Tool Wallet
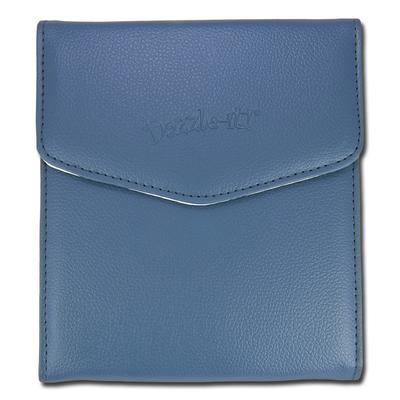
TL00064 – Dazzle-It Tool Wallet
For all your pliers and tools, get the Tool Wallet to keep your tools in one area! It has convenient elastic straps to organize up to six pliers. It is the perfect tool storage and slim enough to carry along with you when you cannot part from making jewelry on your vacation.
Mother’s Day is approaching and what better way to say thanks to our mothers by customizing a one-of-a-kind Mother’s Day locket. We have two easy DIY locket gift ideas for the loving mothers, special aunts, and caring grandmothers in your lives.
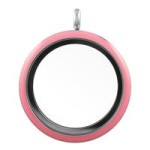
Charmed Locket
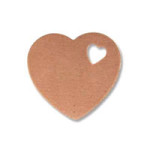
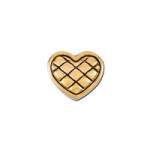
Lockets and floating charms are an easy gift to make for Mother’s Day. Choose your glass locket and fill it with floating charms and mementos. Here, we have filled our pink locket with a brass heart stamping blank and three floating charms.
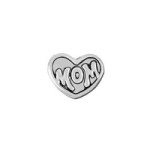
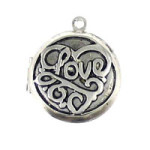
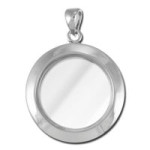
Picture Love Locket
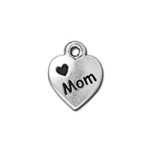
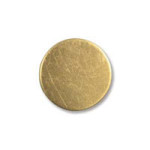
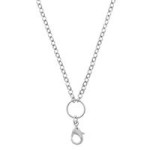
Tell her that you love her with this love locket with a picture inside, so that she can wear it close to her heart. We filled this LOVE locket with a ½” gold-plated blank and used stamping tools to stamp MOM along with two small hearts. We then sized a photo down to fit inside a ½” circle. Glue both pieces inside the locket and add a necklace. This heart-filled necklace is ready for a box and bow for Mother’s Day.