Using Cold Connection in Jewelry: How to Rivet Leather
Cold connection is a unique metal technique that connects metal components without the use of heat. While you can connect metal pieces by glue or other adhesive, we will demonstrate some basic steps on how to use rivets with leather.
You will find many cold connection and riveting techniques in steampunk jewelry and metalworking. Once you have the basic tools and components for metal working and rivets, you will find how easy this versatile skill can be used for jewelry making.

Rivet Leather (Part One)
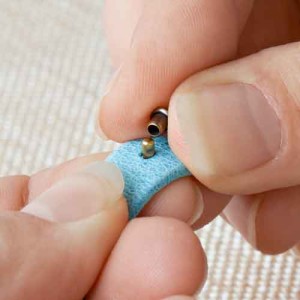
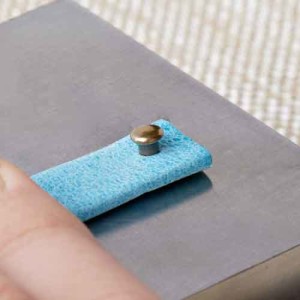
For this project, we are using TierraCast® Rivets to show how to rivet on leather. When riveting on leather, use a two-part compression rivet, which will have a bottom and cap piece. Two-part compression rivets are best for leather, as they will create a tighter hold if you are adding embellishments with the rivets.

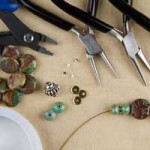
Tools Needed for Leather Riveting:
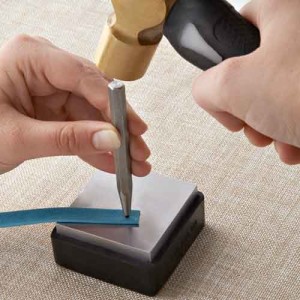
Steel Hammer, Bench Block, Leather Hole Punch Pliers, and TierraCast® Rivet Setter.


Rivet Leather (Part Two)

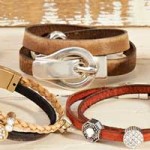
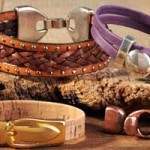
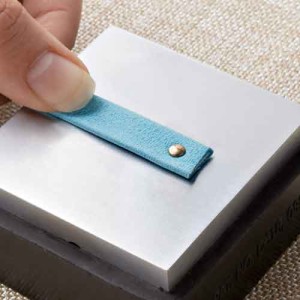
Make leather loop for jump rings, clasps, or joining components together. Create this wrap-around leather watch by using these two part compression rivets. Cut two 12” 5mm flat leather. Make leather loops on all four ends. Attach your clasps and watch face for a fun wrap-around leather watch.


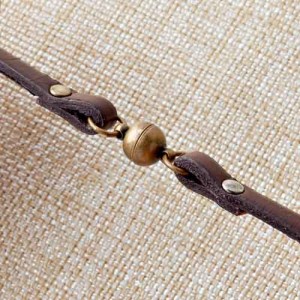
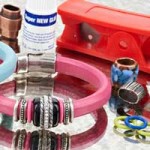
Leather Bracelet
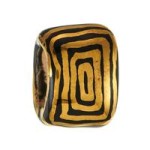
- (1) TC02030 – Breathe Link
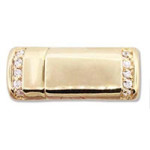
- (1) Z003952 – Brass Magnetic Clasp
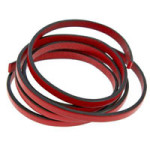
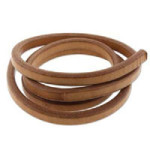
- (7) CH00259 – 10mm Burnt Orange Flat Leather
- (1) TC01450 – 4mm Brass Rivet
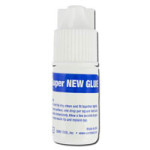
- A015821 – Super New Glue
Wrap-Around Leather Watch